


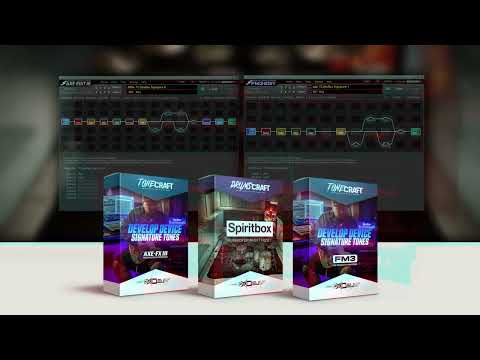
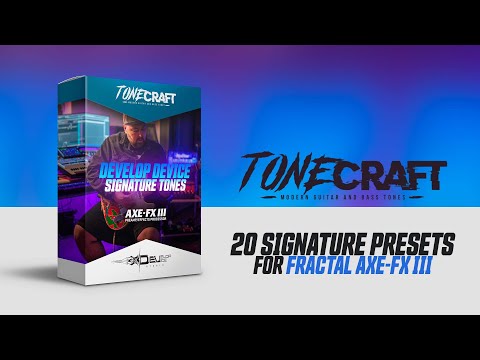
Develop Device Signature Tones for Fractal Axe-Fx III
Develop Device Signature Tones for Fractal Axe-Fx III
🎸 Professional Sound at Your Fingertips
Discover the power of authentic tone with exclusive Develop Device presets for Fractal Axe-Fx III. These meticulously crafted tones bring studio-quality sound directly to your home studio or live stage.
✨ What You Get:
- 20 unique presets - each with rhythm and lead scenes
- Rhythm scene - tight, punchy tones for heavy riffs
- Lead scene - singing sustain for memorable solos
- Instant switching - seamlessly toggle between rhythm and lead
- FRFR Ready - optimized for modern monitoring systems
- Cygnus X-3 compatible - leveraging the latest technology
- Instant download - start playing within minutes
🎯 Why Choose Our Presets?
Every preset has been hand-crafted by our sound engineers with over 10 years of experience. Each preset features two perfectly matched scenes - a rhythm scene for tight riffing and a lead scene for soaring solos, allowing you to switch instantly between both tones.
🚀 Premium Quality
40 total scenes - 20 rhythm + 20 lead scenes used by professional guitarists worldwide
🎵 Perfect For:
- Complete song arrangements with rhythm and lead parts
- Live performance with instant scene switching
- Professional studio work with matched tones
- Rock, metal, and modern guitar genres
- Solo guitarists needing both rhythm and lead sounds
🔧 Technical Specifications:
- Compatible with Fractal Axe-Fx III (firmware 29.00)
- Optimized for Cygnus X-3 amp modeling
- FRFR and traditional cab ready
- 2 scenes per preset (rhythm + lead)
Note: This is a digital product - after purchase, you'll receive instant access to download all presets.
🎛️ Custom Audio Solutions That Finally Work
Stop settling for amateur sound. Give your music the professional quality it deserves.
My name is Jaroslav Holub, and I completely understand your frustration. You've poured your heart into your music, but it still doesn't sound as punchy as your favorite albums. The mix is muddy, the guitars lack punch, and that final professional polish is simply out of reach. After more than ten years of perfecting my craft in rock and metal music production, I know exactly how to bridge this gap. My custom audio services will transform your raw recordings into powerful, release-ready tracks that will grab attention and excite listeners.
✨ How I'll Solve Your Production Problems:
🎚️ Professional Mixing & Mastering
Are you tired of mixes that sound great in the studio but fall apart on other devices? I will deliver a consistent and powerful sound that works perfectly everywhere. My hybrid analog-digital approach will give your music the warmth and punch it needs to stand proudly next to the recordings of your musical heroes.
🎸 Custom Preset Creation
Do you waste hours scrolling through generic presets that never quite fit? I will create unique sounds for you, tailored to your style and vision. Every preset I design will save you countless hours while delivering the exact character and power your music requires.
🎵 Workflow Optimization
Do you feel overwhelmed by technology when you just want to create? I will streamline your entire production process with custom templates and personal guidance. Spend less time fighting with technology and more time turning your creative energy into great music.
🏆 What Makes Working With Me Different:
- An End to Guesswork: I know exactly what your mix needs to compete professionally.
- Save Months of Trial and Error: Take advantage of my 10+ years of experience instead of learning the hard way.
- Direct Access to an Expert: You'll work directly with me – no automated responses, just real help.
- Guaranteed Professional Results: Your music will finally sound the way you've always imagined.
- An Investment That Pays Off: Every dollar spent will take your music career to the next level.
- Peace of Mind: Stop doubting and confidently release music you will be proud of.
Are you ready to stop making compromises and start creating music that moves people?
Let's turn your vision into a professional reality – starting today.
"The difference between an amateur and a professional isn't talent – it's about having the right experience on your side.
Let me be that difference for your music."
- Jaroslav Holub, Founder of Develop Device Studio
My Customers
As I Lay Dying / Austrian Death Machine

Arch Enemy / Nevermore

Hollywood Undead

Machine Head / Ill Niño

Guitarist / Composer / Producer

The Amity Affliction

Producer / Engineer / Mixer (Nickelback, Shinedown, Daughtry, Rob Zombie, Tommy Lee/Motley Crue, Avril Lavigne...)

Primal Fear / Magnus Karlsson's Free Fall
