


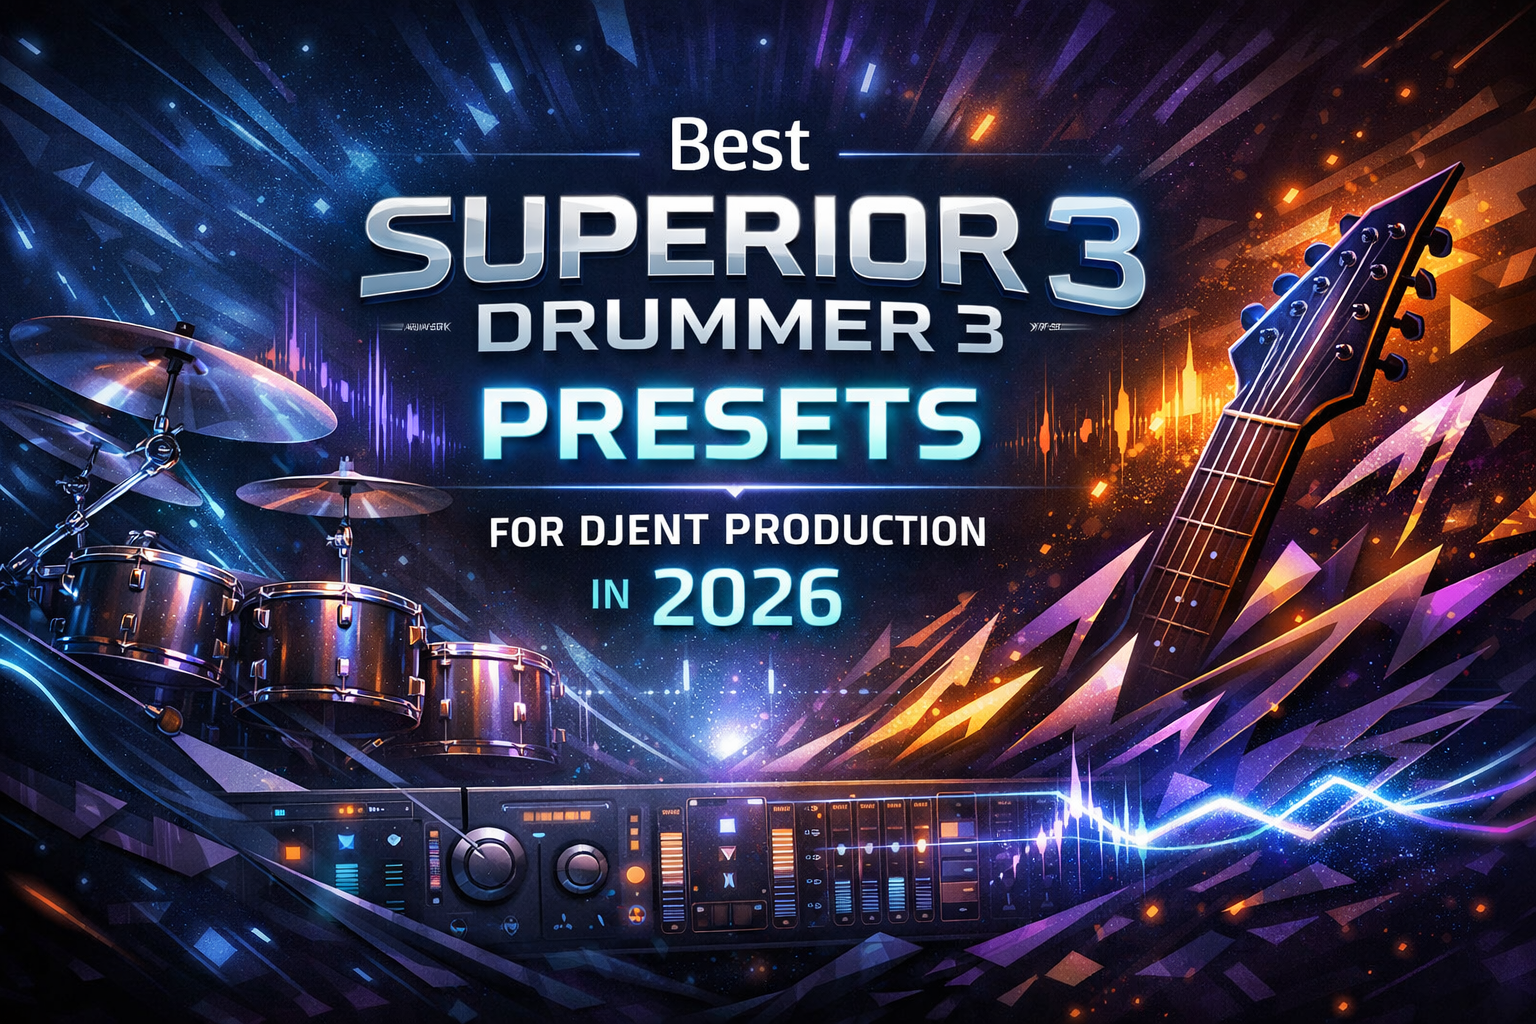
Superior Drummer 3 is the industry standard for metal drum production. Whether you're producing death metal, metalcore, or progressive metal, SD3 gives you everything you need to create album-ready drum sounds without leaving the plugin. In this comprehensive guide, we'll walk you through the complete process of mixing metal drums entirely inside Superior Drummer 3.
Why Mix Inside Superior Drummer 3?
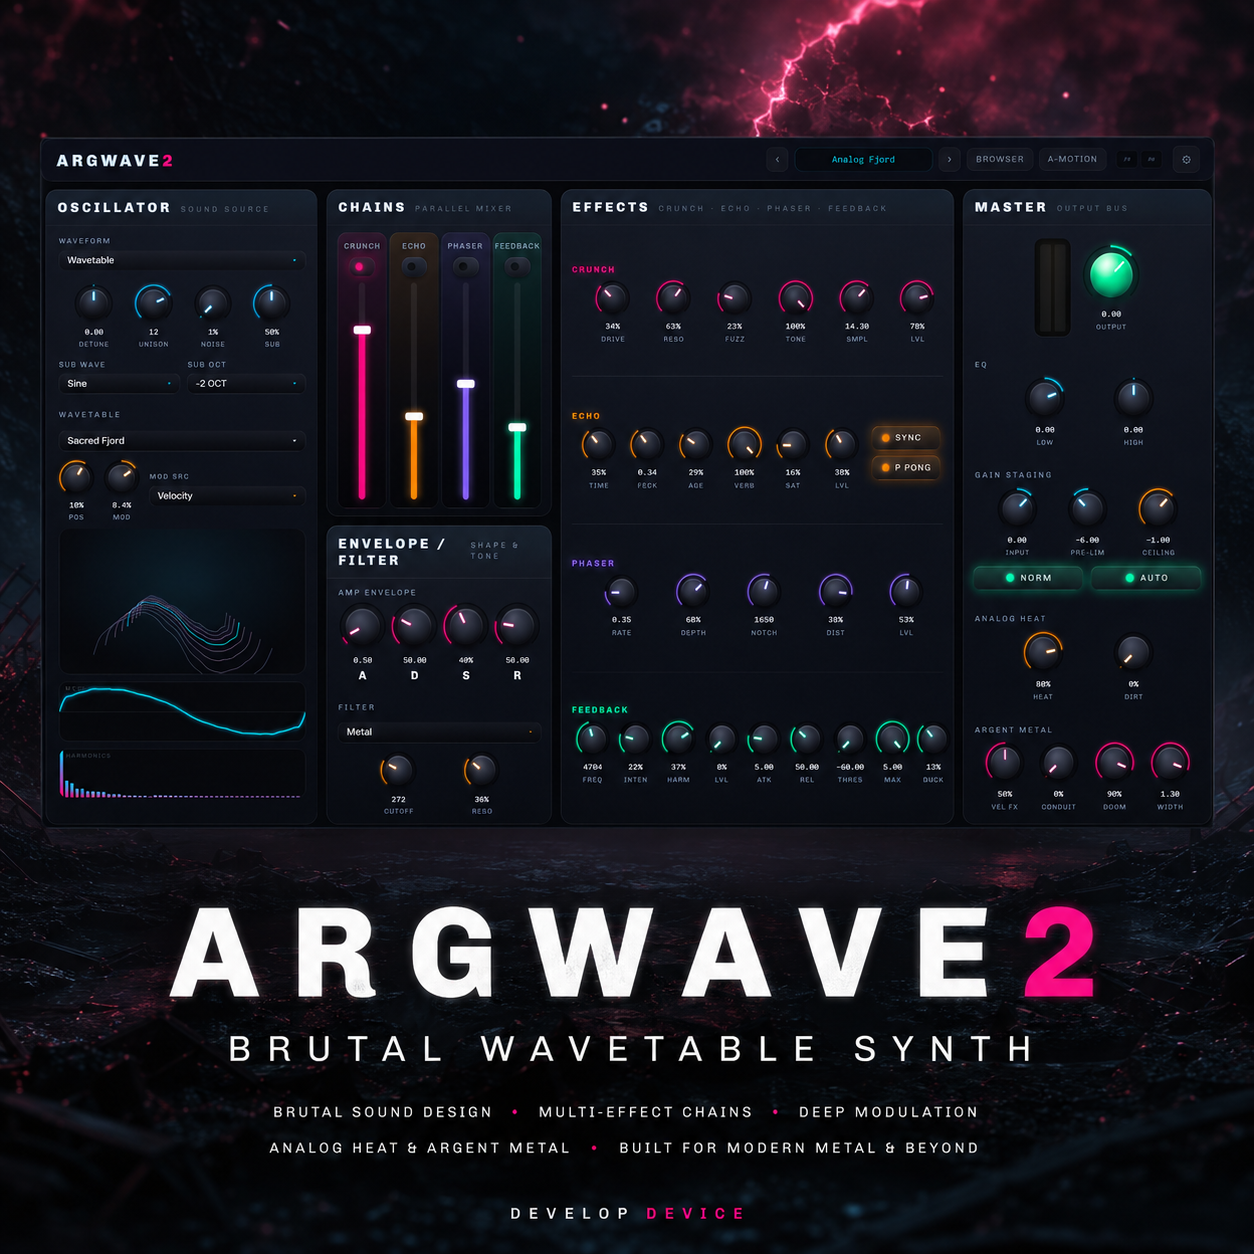
Many producers export individual drum tracks to their DAW for mixing. While this approach works, it's often unnecessary. Superior Drummer 3's internal mixer is incredibly powerful, featuring:
- Full parametric EQ on every channel
- Built-in compressors with multiple algorithms
- Transient shapers for attack and sustain control
- Parallel compression buses
- Room mic blending with multiple room sounds
- Send effects including reverb and delay
By mixing inside SD3, you save CPU resources, maintain phase coherence, and can easily switch between different drum libraries while keeping your mix settings.
Step 1: Choose the Right SDX Library
Your foundation matters. For metal production, these SDX libraries excel:
- The Metal Foundry SDX – The classic choice for thrash, death metal, and heavy rock
- Metal Machinery SDX – Modern, tight drums perfect for djent and metalcore
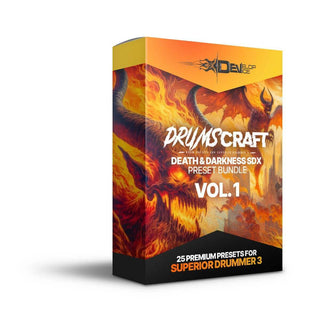
- Death & Darkness SDX – Extreme metal tones with massive low-end
- Drums of Destruction EZX – Aggressive, raw sound for thrash and hardcore
Step 2: Start with Kick and Snare
Kick Drum Processing
Metal kick drums need click, punch, and low-end weight. Here's the approach:
- High-pass filter at 30-40 Hz – Remove subsonic rumble
- Boost at 3-5 kHz – Add beater attack and click
- Cut at 300-400 Hz – Remove boxiness
- Boost at 60-80 Hz – Add low-end weight
- Compression: 4:1 ratio, fast attack (5-10ms), medium release
For double bass passages, use the transient shaper to increase attack. This helps each hit cut through at high speeds.
Snare Drum Processing
Metal snare needs crack, body, and sustain control:
- Boost at 200 Hz – Add body and weight
- Boost at 2-4 kHz – Enhance crack and attack
- Boost at 8-10 kHz – Add air and sizzle (snare wires)
- Compression: 4:1 to 6:1, medium attack to preserve transient
Step 3: Toms and Cymbals
Toms
Toms should complement the kick drum tonally:
- Gate aggressively to eliminate cymbal bleed
- Boost attack frequencies (3-5 kHz)
- Add low-end (80-120 Hz) for floor tom weight
- Use transient shaper to tighten sustain
Cymbals and Overheads
- High-pass at 500-800 Hz to remove drum bleed
- Gentle high-shelf boost at 10 kHz for shimmer
- Avoid over-compression – cymbals need dynamics
Step 4: Room Mics and Parallel Compression
Room mics add size and aggression to metal drums. In SD3:
- Blend room mics to taste (start at -10 dB below close mics)
- Apply heavy compression to room bus (10:1, fast attack)
- Use parallel compression for added sustain and power
- High-pass room mics to control low-end buildup
Step 5: Bus Processing
On your drum bus (master channel in SD3):
- Gentle compression (2:1) for glue
- Subtle EQ adjustments for overall tone
- Transient shaper for final attack/sustain balance
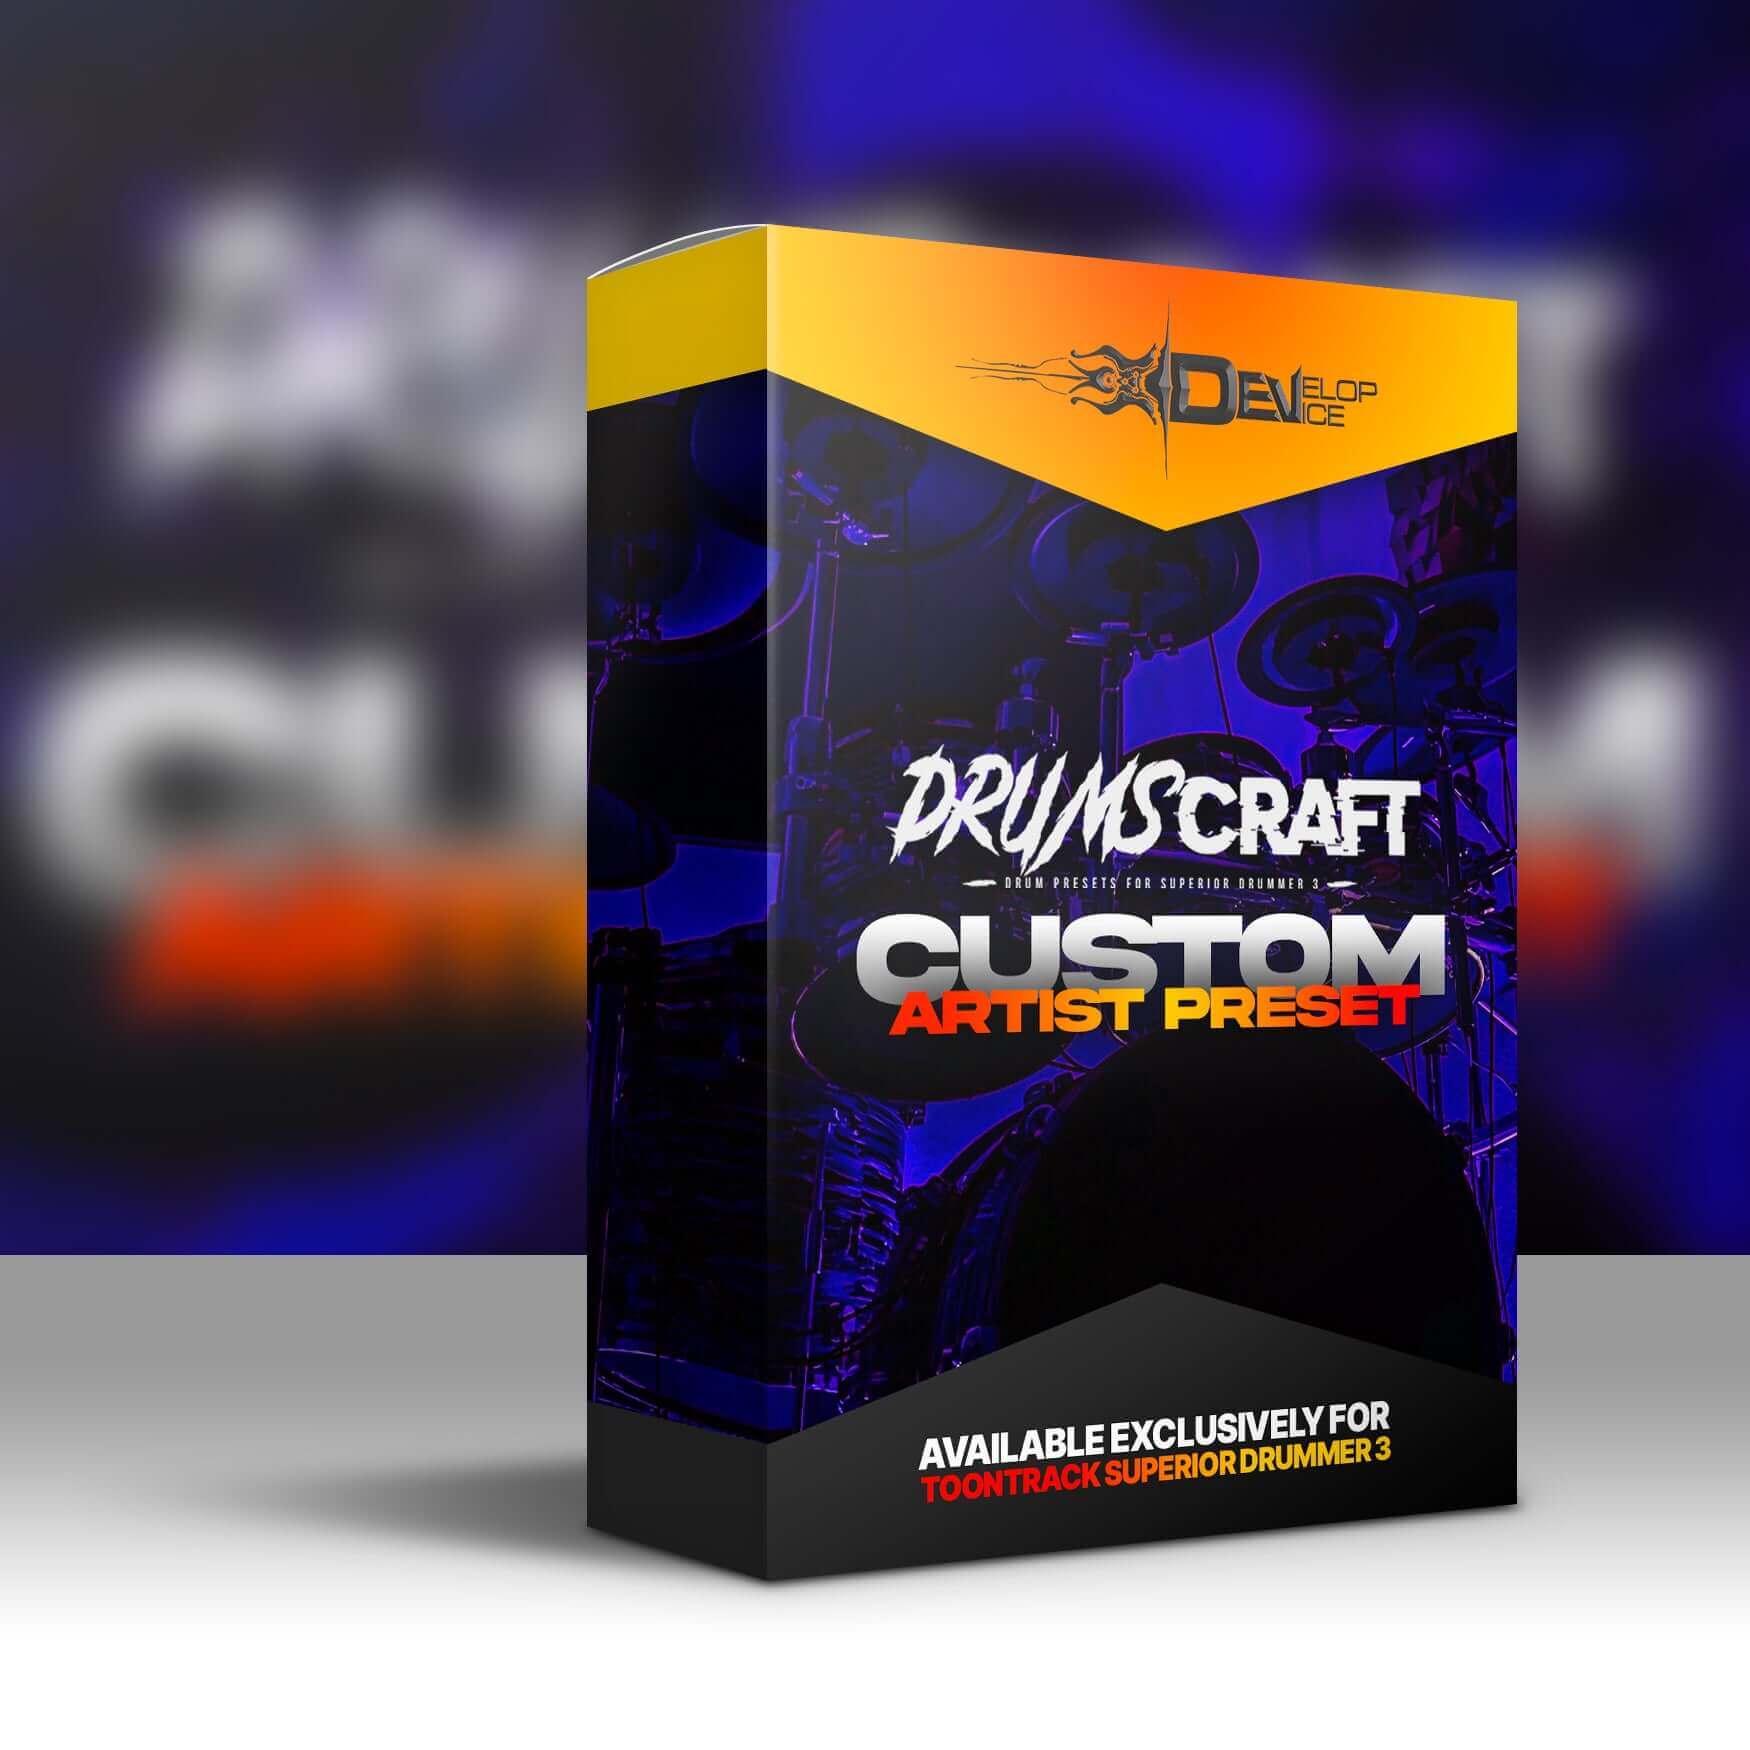
The Faster Way: Use Professional Presets
While learning to mix drums is valuable, sometimes you need album-ready sounds immediately. Professional SD3 presets give you instant access to polished, mix-ready drum tones created by experienced producers.
Our Superior Drummer 3 Presets are mixed 100% inside SD3 – no external plugins required. Each preset is optimized for specific metal subgenres:
- Hybrid Metal Drums – Versatile modern metal sound for Metal Foundry SDX
- Ultimate Metal Drums – Aggressive, album-ready tones
- Death Metal Drums – Extreme metal with blast beat optimization
- Destruction Machinery – Slipknot-inspired aggressive sound
Common Mistakes to Avoid
- Over-compressing – Metal drums need dynamics for impact
- Too much low-end – Leave room for bass guitar
- Ignoring phase – Check phase relationships between mics
- Mixing in solo – Always check drums against guitars and bass
- Forgetting the room – Room mics add essential size and power
Recommended Signal Chain Summary
| Element | EQ | Compression | Other |
|---|---|---|---|
| Kick | HP 35Hz, +3dB @ 4kHz, -2dB @ 350Hz | 4:1, fast attack | Transient shaper + |
| Snare | +2dB @ 200Hz, +3dB @ 3kHz | 4:1, medium attack | – |
| Toms | HP 80Hz, +2dB @ 4kHz | 4:1, fast attack | Gate |
| Overheads | HP 600Hz, +2dB shelf @ 10kHz | 2:1 gentle | – |
| Room | HP 200Hz | 10:1, smashed | Parallel blend |
Conclusion
Mixing metal drums in Superior Drummer 3 is a skill that rewards practice. Start with a solid foundation (the right SDX library and kit), build your sound from kick and snare up, and use room mics strategically for power and size.
If you want to skip the learning curve and get professional results immediately, check out our SD3 preset collection. Each preset represents hours of mixing refinement, giving you instant access to album-ready metal drum sounds.
Ready to take your drum production to the next level? Browse our Superior Drummer 3 Presets and find your perfect metal drum sound today.


Leave a comment
All comments are moderated before being published.
This site is protected by hCaptcha and the hCaptcha Privacy Policy and Terms of Service apply.